Profile and Appearance
Profile holds the account fields you own — your photo, username, and password — plus the personal preferences that decide what you see. Appearance, reached from the same More sheet, decides how the app looks to you, and only to you.
Open your Profile
Desktop
- Choose the round Profile button in the header, top-right of every page.
Phone
- Choose the round Profile button in the header, top-right of every page — it isn't one of the bottom tabs.
The page opens on your avatar, username, and role, then Your reading (Read, Reading, DNF, and Rated counts, each linking to that Shelf), an explanation of where your books land, an Appearance section, your API tokens, and your account actions at the bottom.
Update your profile photo
Desktop
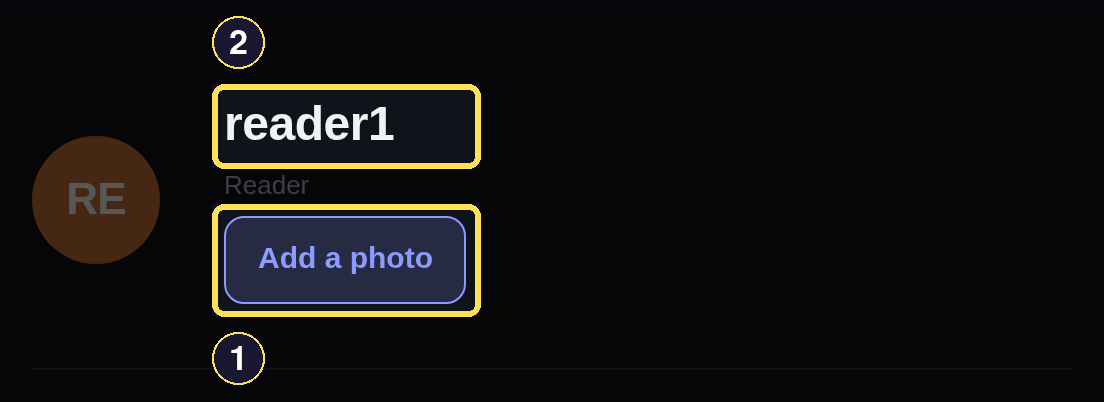
- Add a photo (or Change photo, once you have one) uploads a new avatar image.
- Your username and role are shown here.
- On your Profile page, choose Add a photo and pick an image file. The page reloads with your photo filling the avatar circle, the button now reads Change photo, and a Remove photo button appears beside it.
- Choose Remove photo to go back to your initials.
Phone
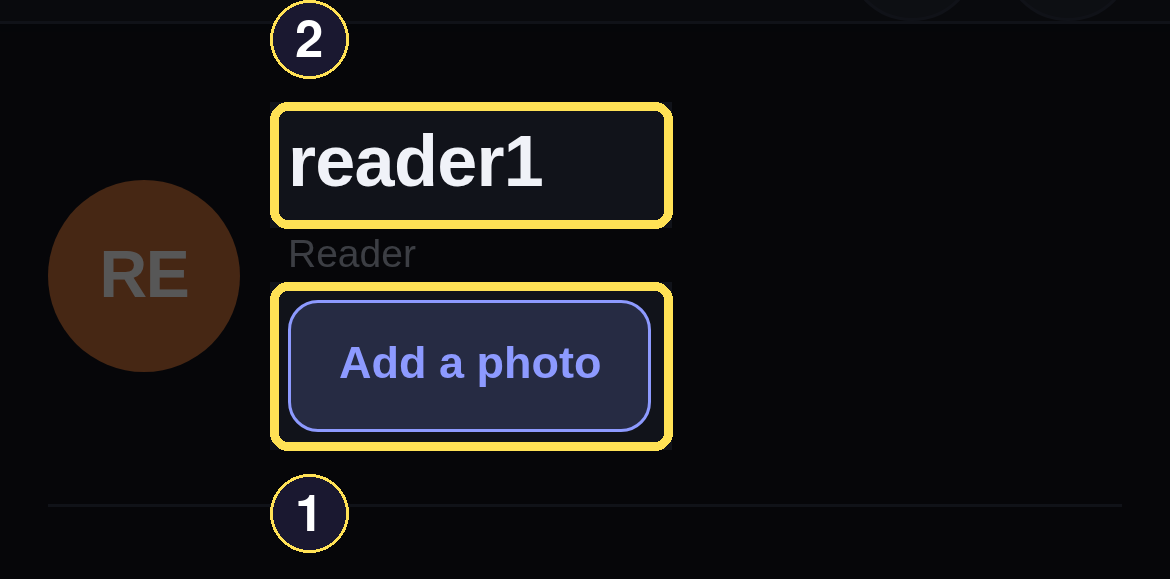
- Add a photo (or Change photo, once you have one) uploads a new avatar image.
- Your username and role are shown here.
- On your Profile page, choose Add a photo and pick an image file. The page reloads with your photo filling the avatar circle, the button now reads Change photo, and a Remove photo button appears beside it.
- Choose Remove photo to go back to your initials.
Until you add a photo, your avatar shows your initials on a coloured fill.
Change your password
Desktop
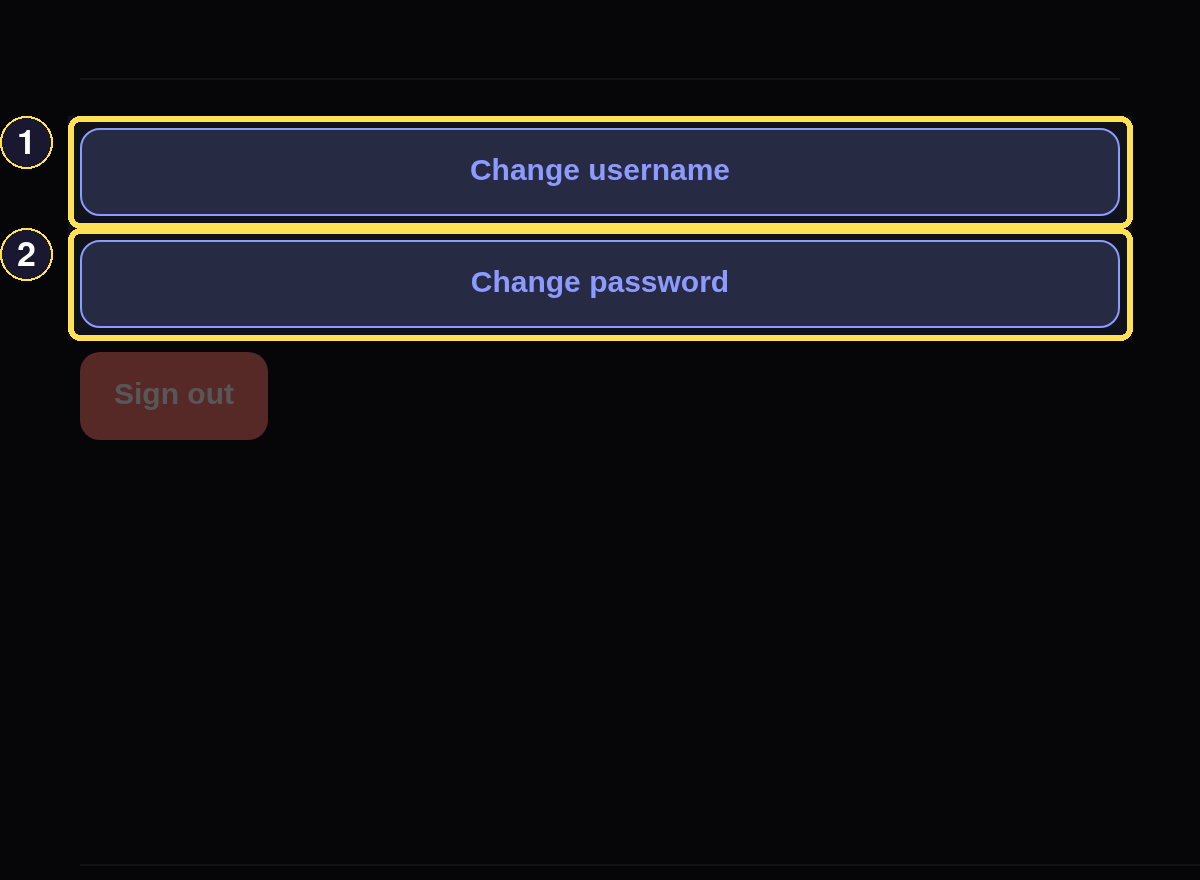
- Change username opens the username form.
- Change password opens the password form.
- On your Profile page, choose Change password.
- Enter your Current password, a New password, and repeat it in Repeat new password, then choose Update password.
A wrong current password re-renders the form with "That current password doesn't match what we have on record." and changes nothing:
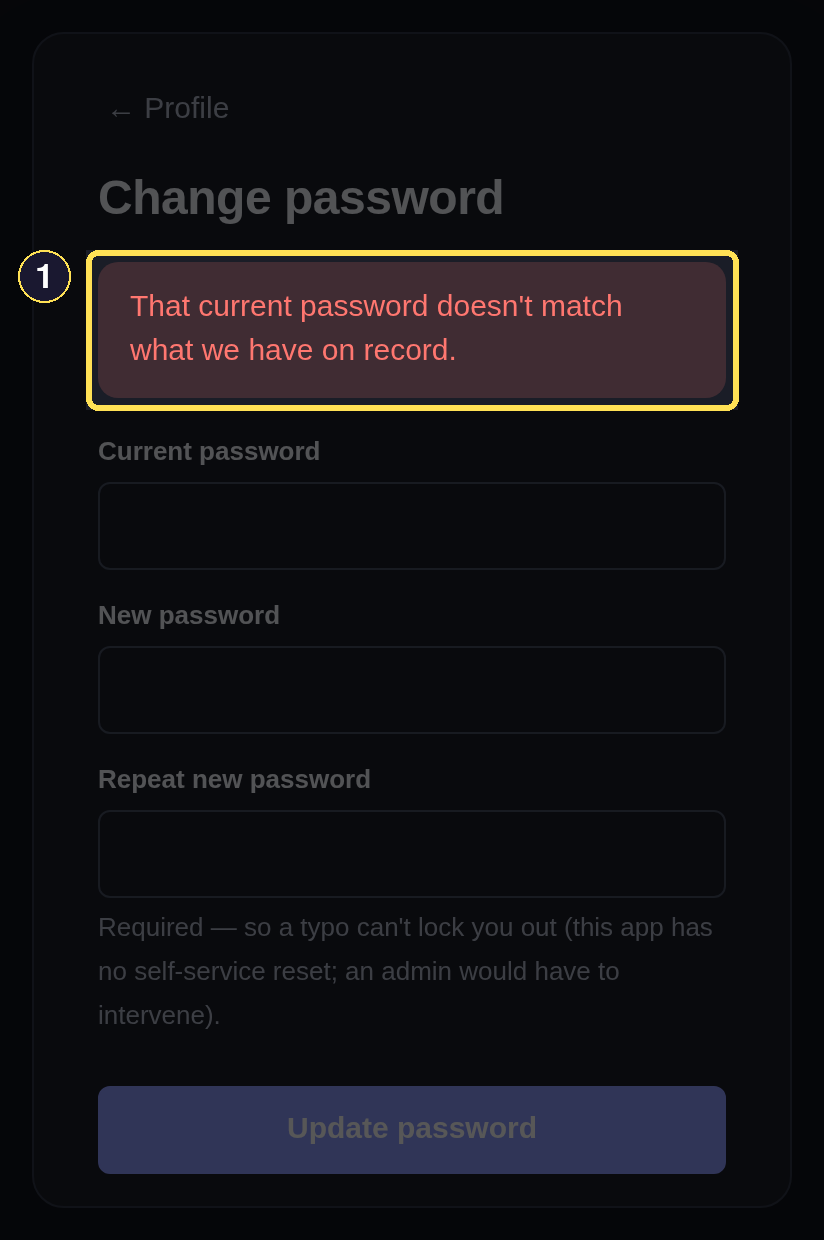
- A wrong current password re-renders the form with this message.
Phone
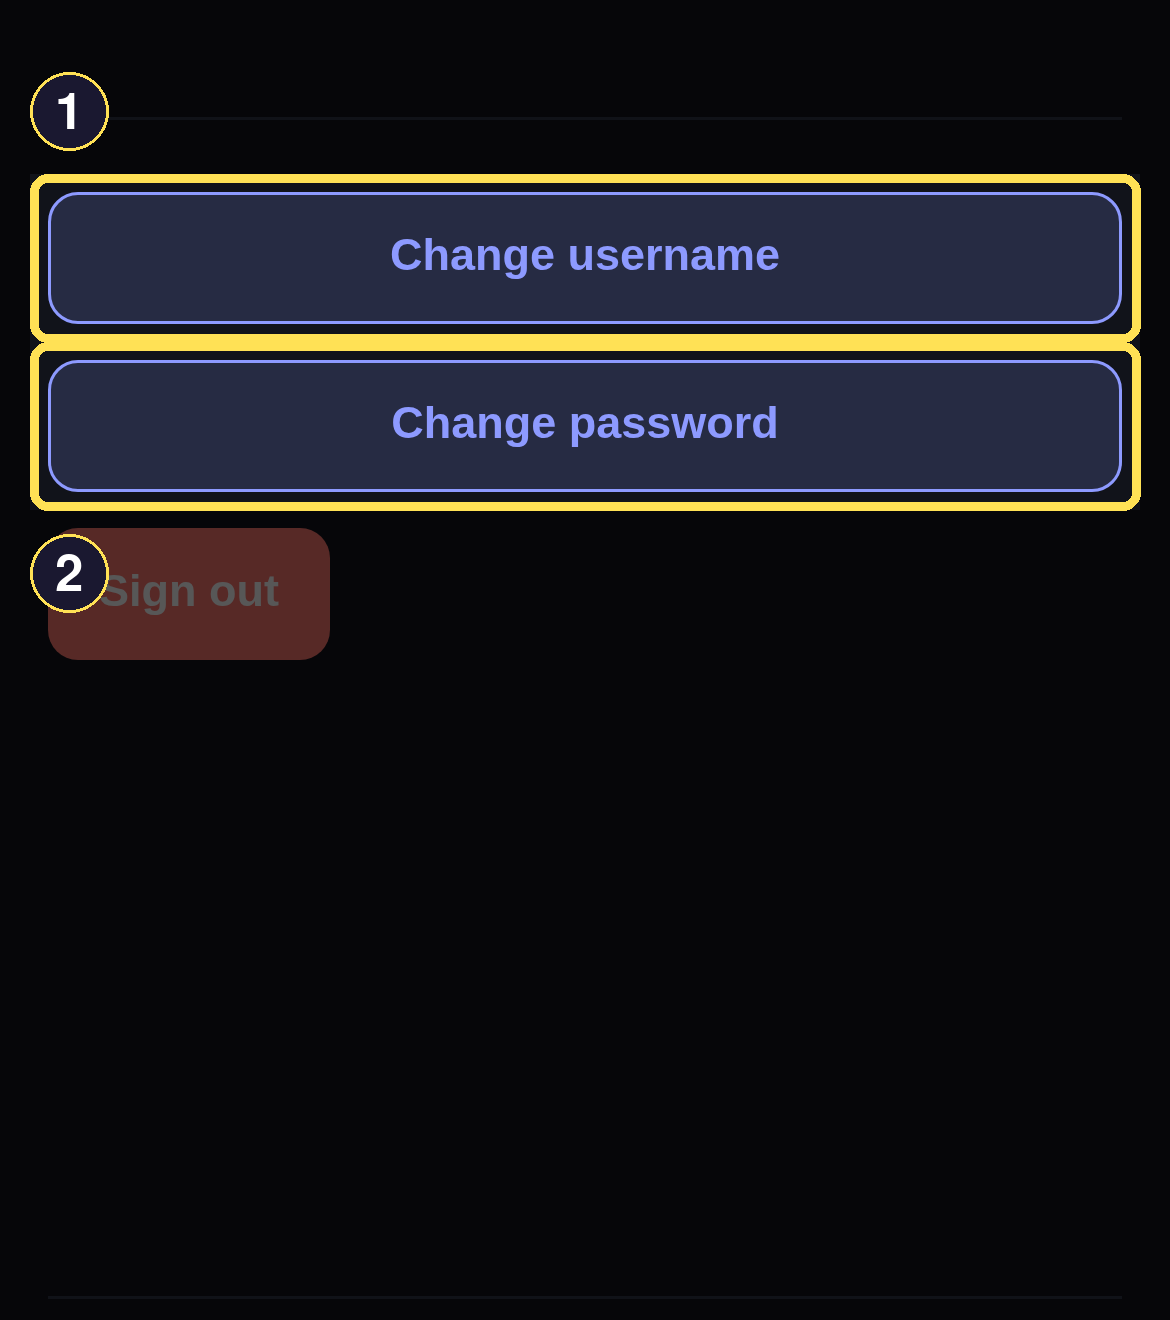
- Change username opens the username form.
- Change password opens the password form.
- On your Profile page, choose Change password.
- Enter your Current password, a New password, and repeat it in Repeat new password, then choose Update password.
A wrong current password re-renders the form with "That current password doesn't match what we have on record." and changes nothing:
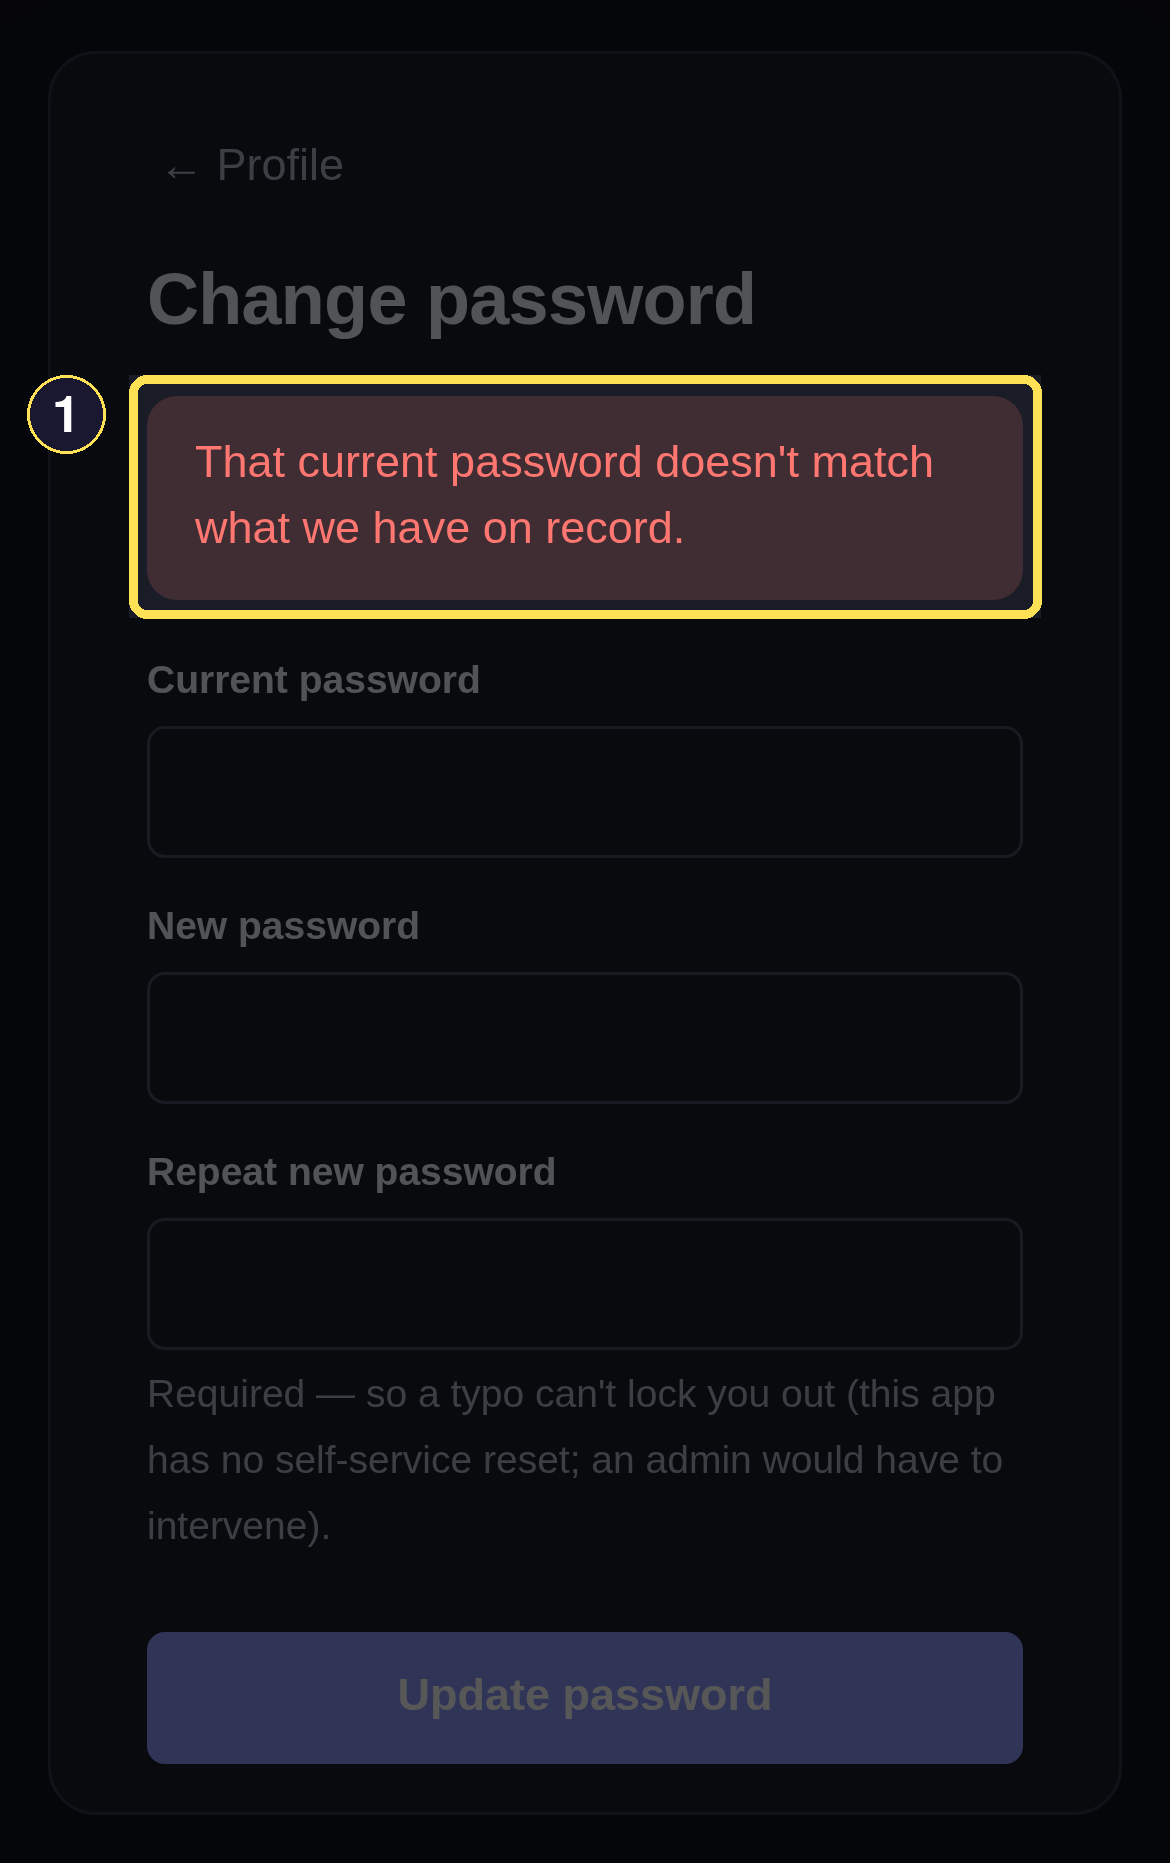
- A wrong current password re-renders the form with this message.
Once it succeeds, you land back on your Shelf; sign out and back in with the new password to confirm it took. Your existing session keeps working either way — a password change does not sign out any device you're already using.
Change your username
Desktop
- On your Profile page, choose Change username.
- Enter your Current password and a New username, then choose Update username.
A name someone else already has re-renders the form with "Username '<name>' is already taken."
and changes nothing:
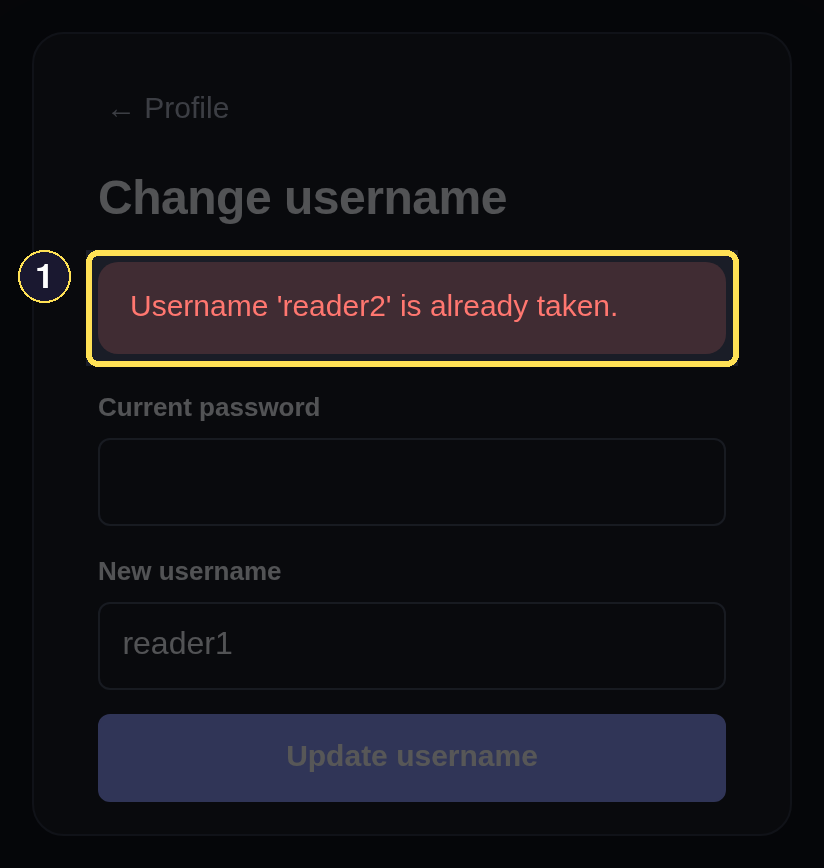
- A taken username re-renders the form with this message.
Phone
- On your Profile page, choose Change username.
- Enter your Current password and a New username, then choose Update username.
A name someone else already has re-renders the form with "Username '<name>' is already taken."
and changes nothing:
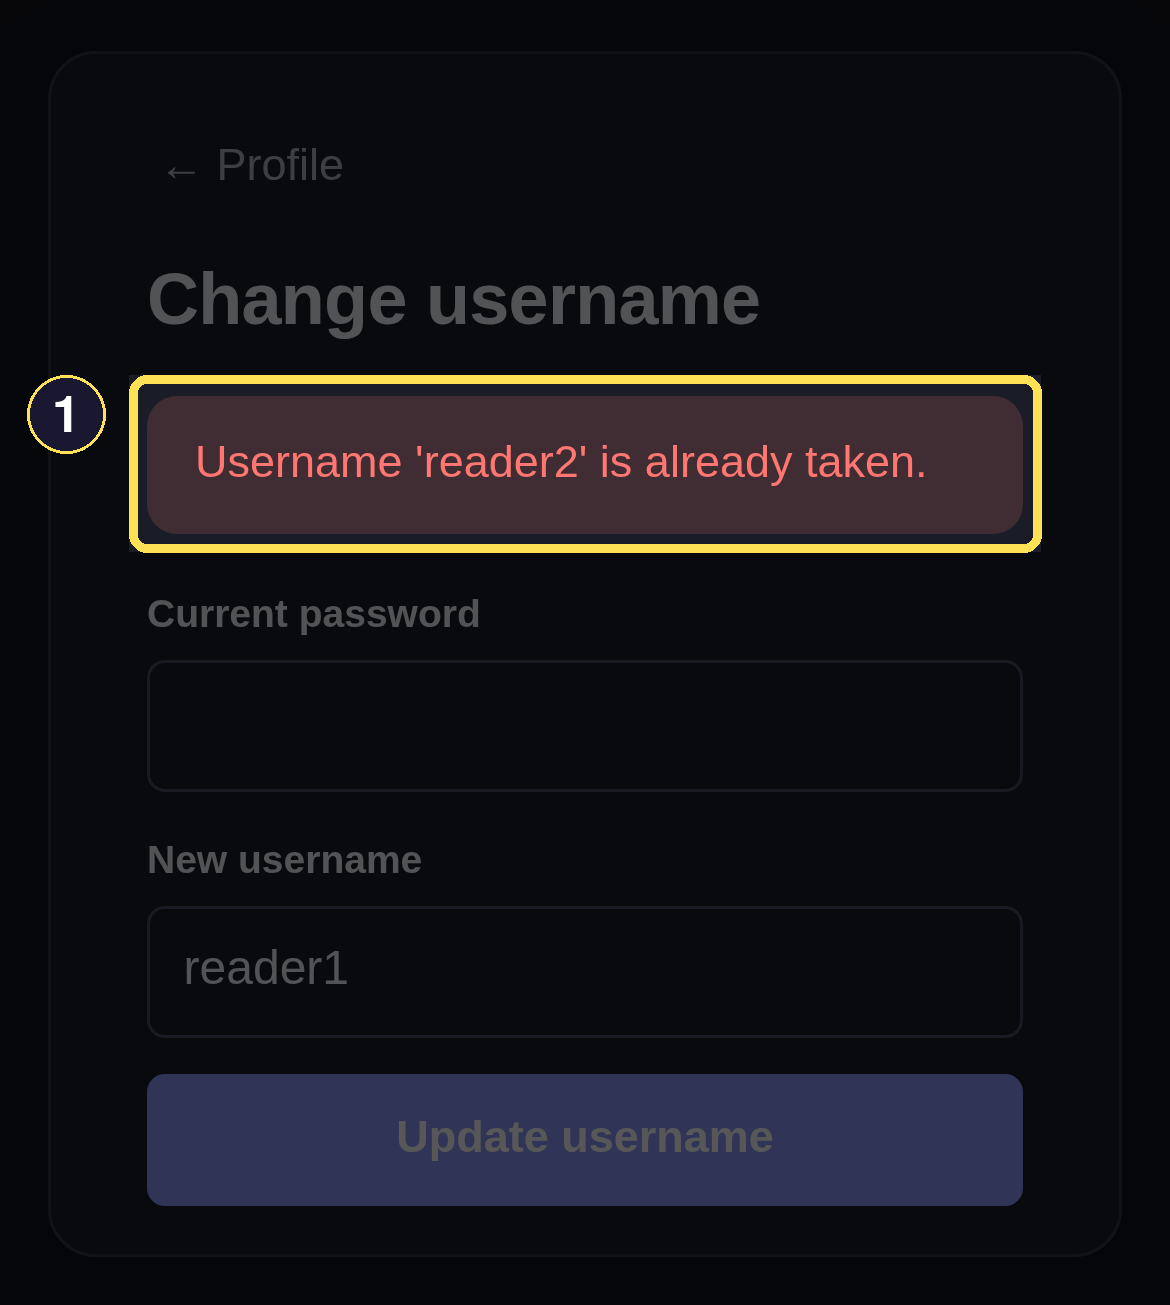
- A taken username re-renders the form with this message.
Submitting your own current username is a no-op; success returns you to your Profile page under the new name, and the old name no longer signs you in.
Choose which automatic Shelves appear
The Lists section of your Profile lets you turn each automatic Shelf on or off.
Desktop
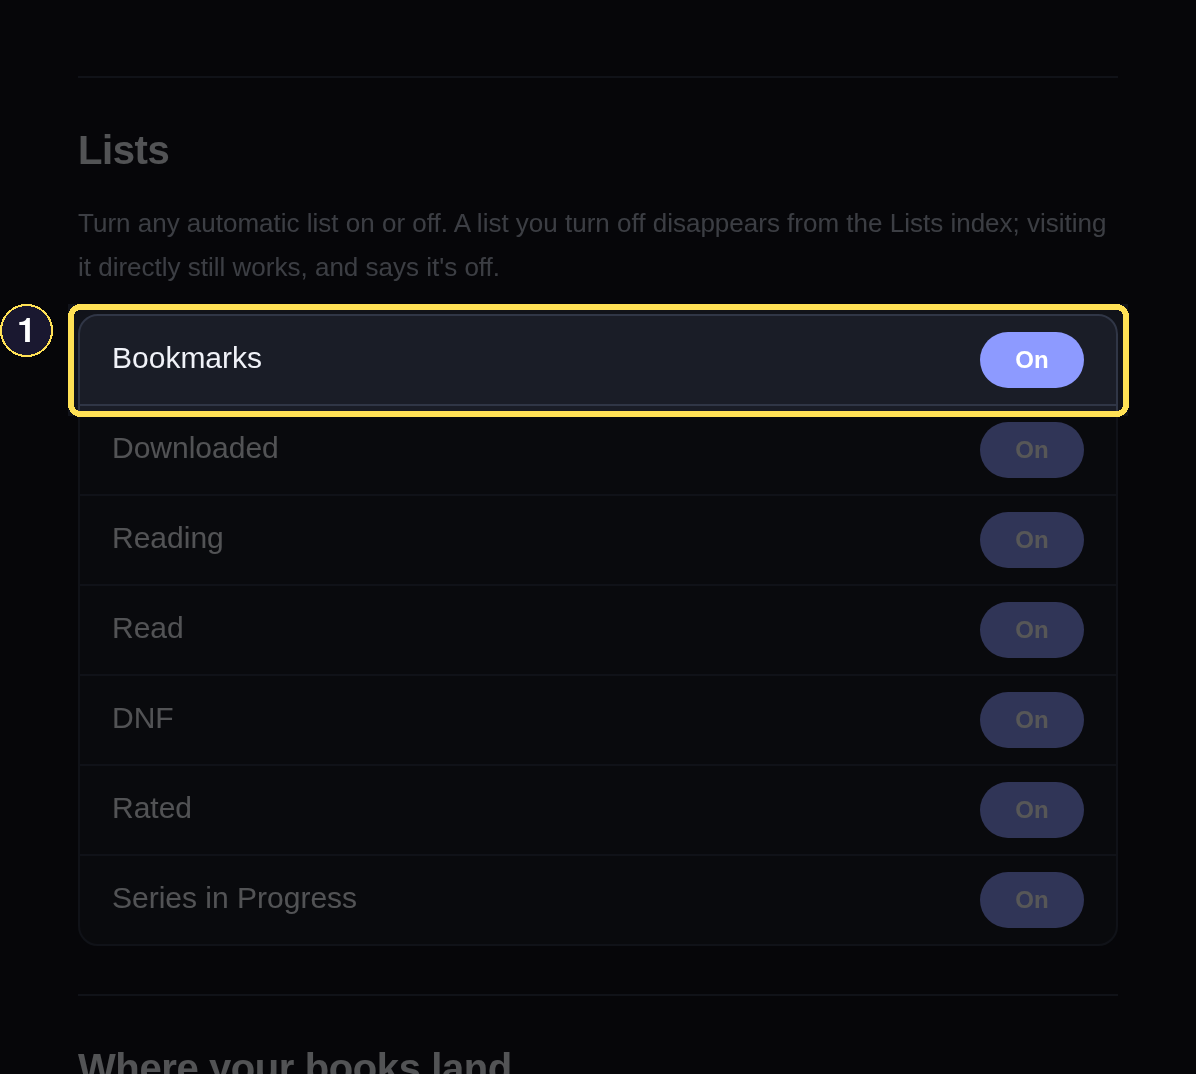
- Each checkbox turns one automatic Shelf on or off.
Phone
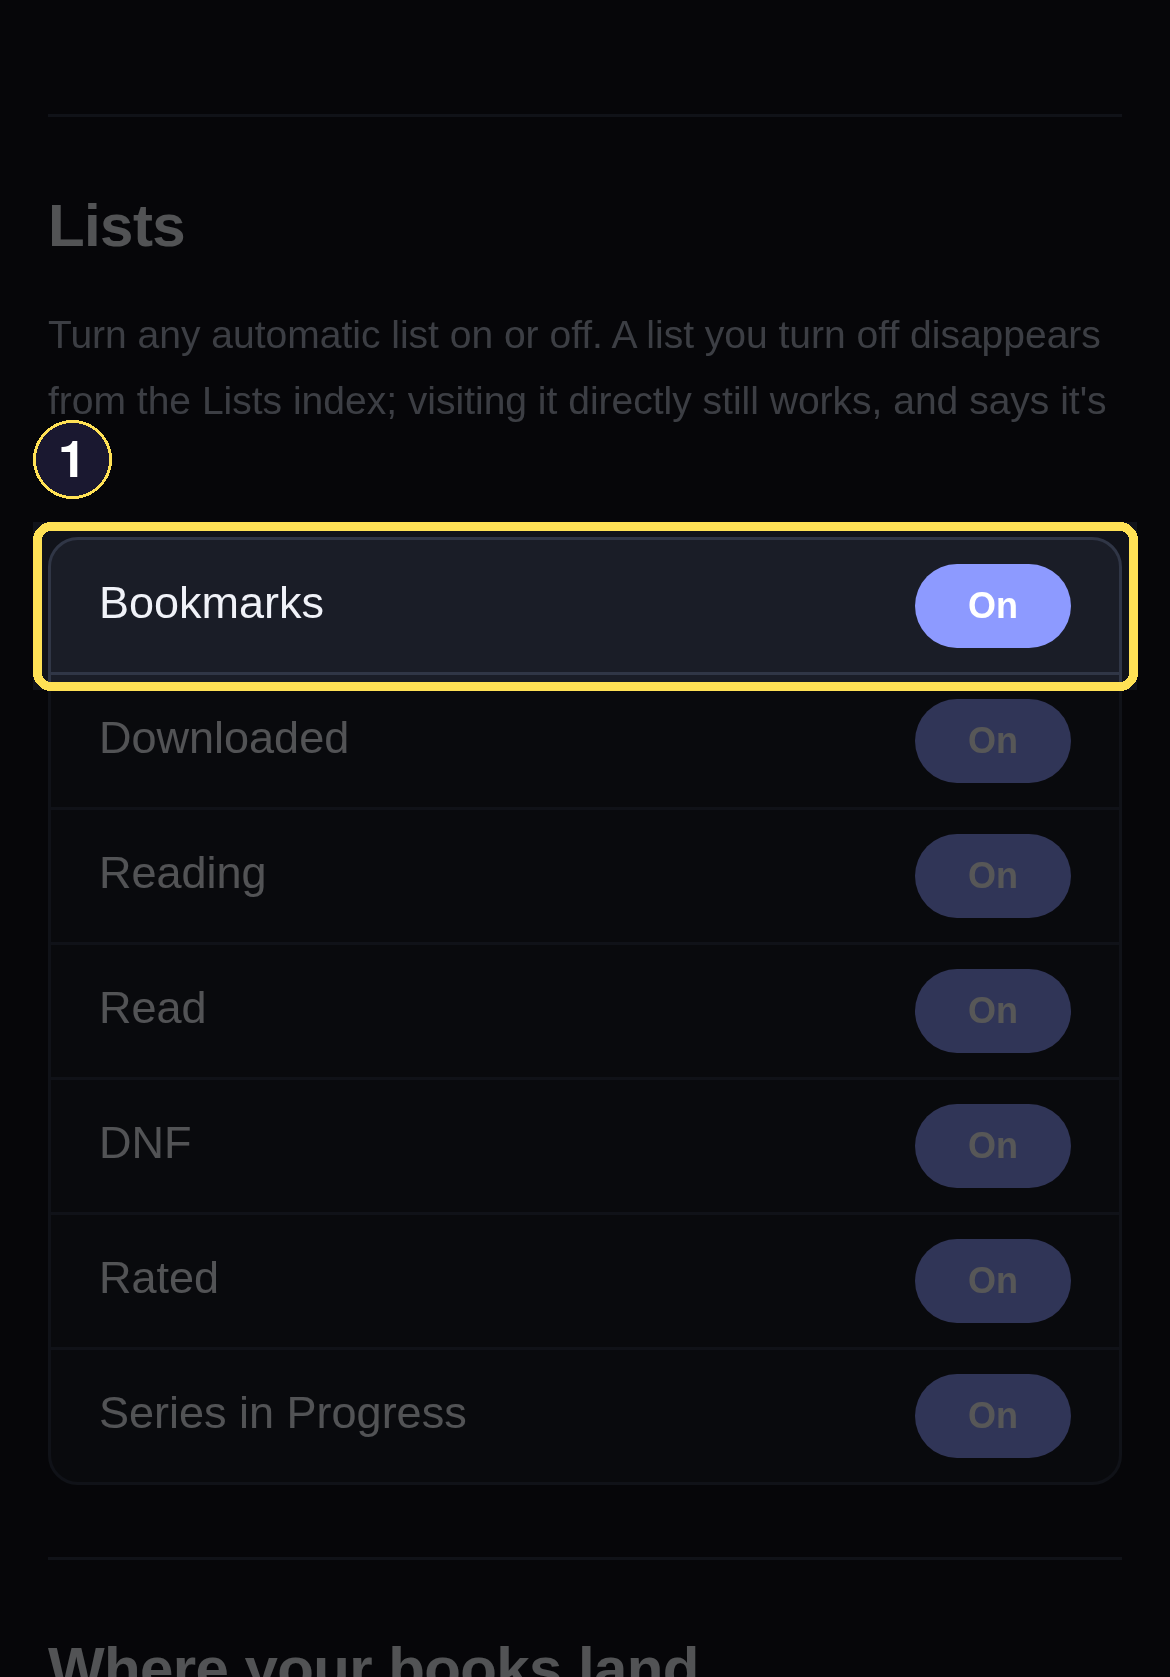
- Each checkbox turns one automatic Shelf on or off.
Where your books land
Your Profile page explains the file-share path in plain terms: every Book you request is copied to an iCloud folder shared with your account, the Books app on your iPhone or iPad picks it up from there automatically, and nothing is ever removed from that folder once a Book arrives. See Library, File Shares, and Downloads to browse that folder directly.
Choose your theme and mode
Desktop
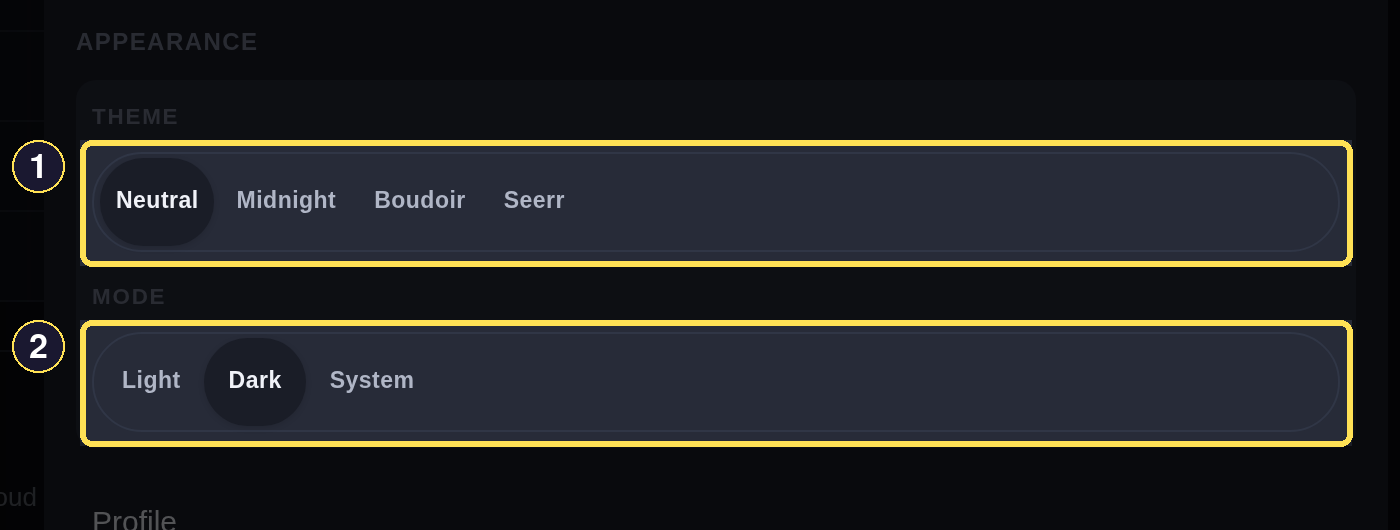
- Theme switches between the app's four palettes.
- Mode switches between Light, Dark, and System.
- In the header, choose More, then under Appearance choose a Theme — Neutral, Midnight, Boudoir, or Seerr.
- Choose a Mode — Light, Dark, or System, which follows your device's own setting.
Phone
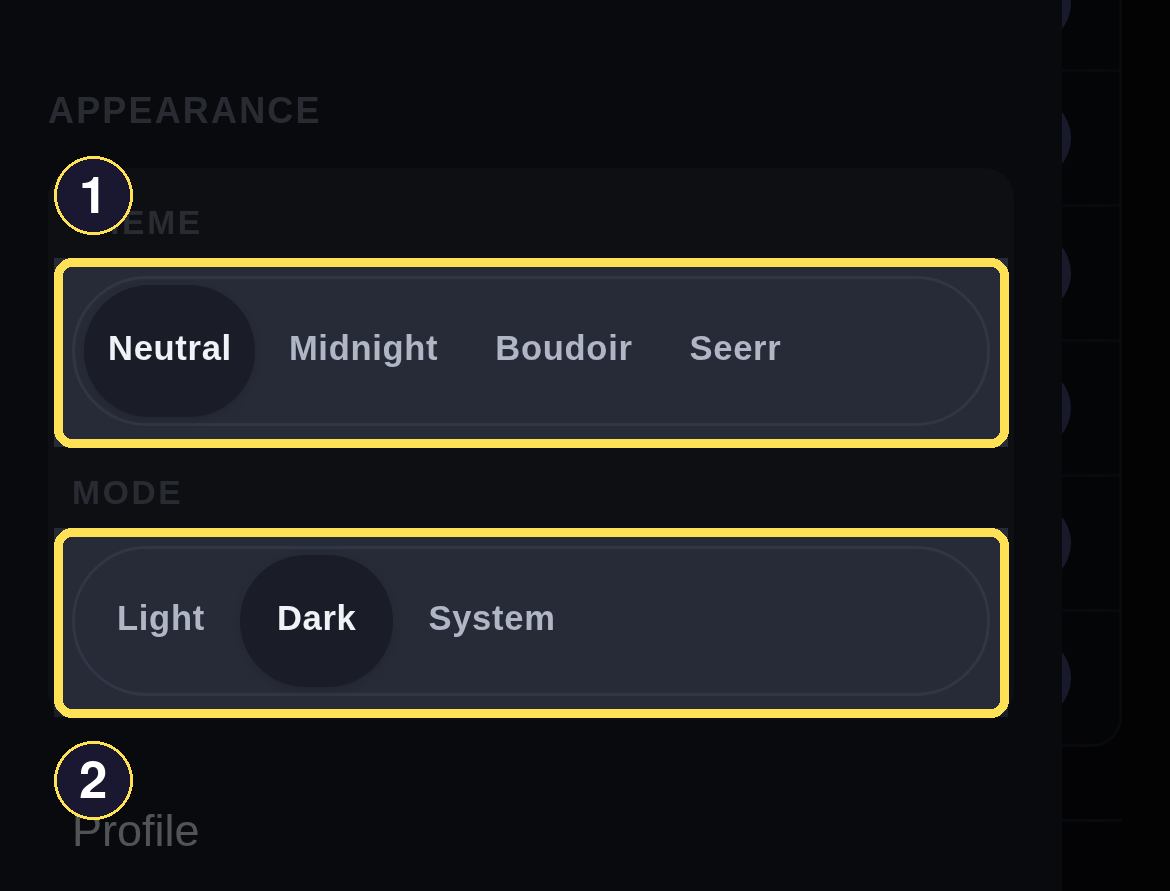
- Theme switches between the app's four palettes.
- Mode switches between Light, Dark, and System.
- In the bottom tab bar, choose More, then under Appearance choose a Theme — Neutral, Midnight, Boudoir, or Seerr.
- Choose a Mode — Light, Dark, or System, which follows your device's own setting.
Every figure in this guide — on every page, not only this one — is captured in the Neutral theme's Dark mode. Choosing a different theme or mode changes only what you see: your own screen may not match these pictures, even though every control sits in exactly the same place.
Create and manage an API token
Desktop
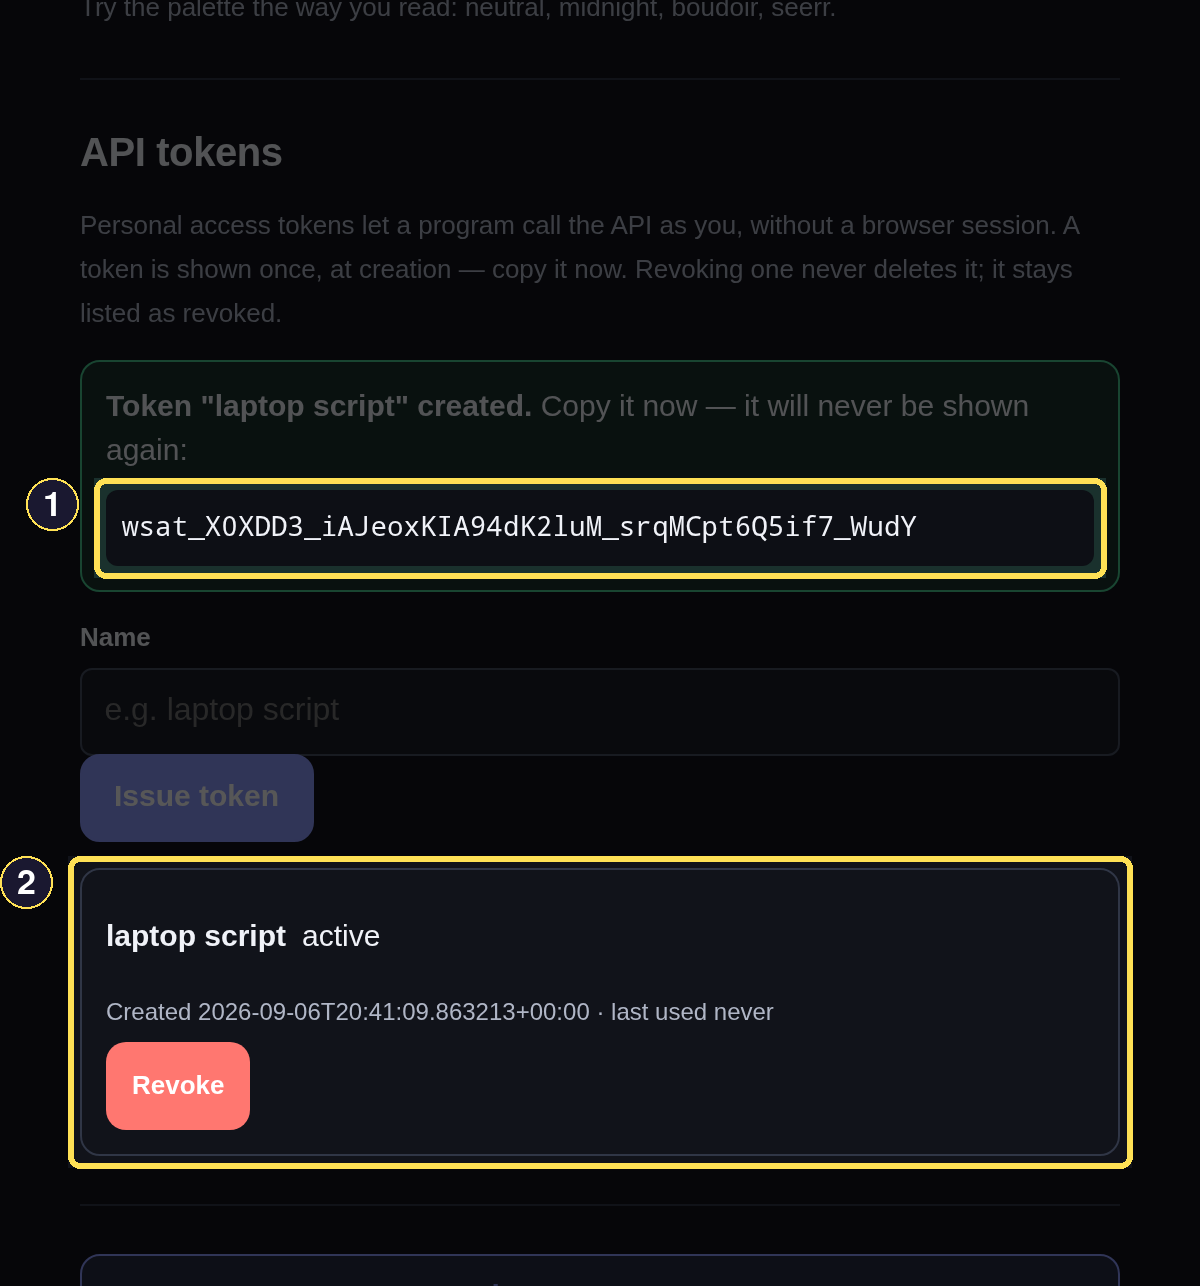
- A newly issued token's secret is shown exactly once, right here — copy it now.
- Each issued token then lists its name and an active or revoked chip.
- On your Profile page, under API tokens, name the token — something that reminds you what
will use it, like
laptop script— and choose Issue token. - Copy the secret shown immediately. It's shown this one time only; the page never displays it again.
- Choose Revoke beside an active token to disable it. Revoking never deletes the row — it stays listed with a revoked chip instead of active.
Phone
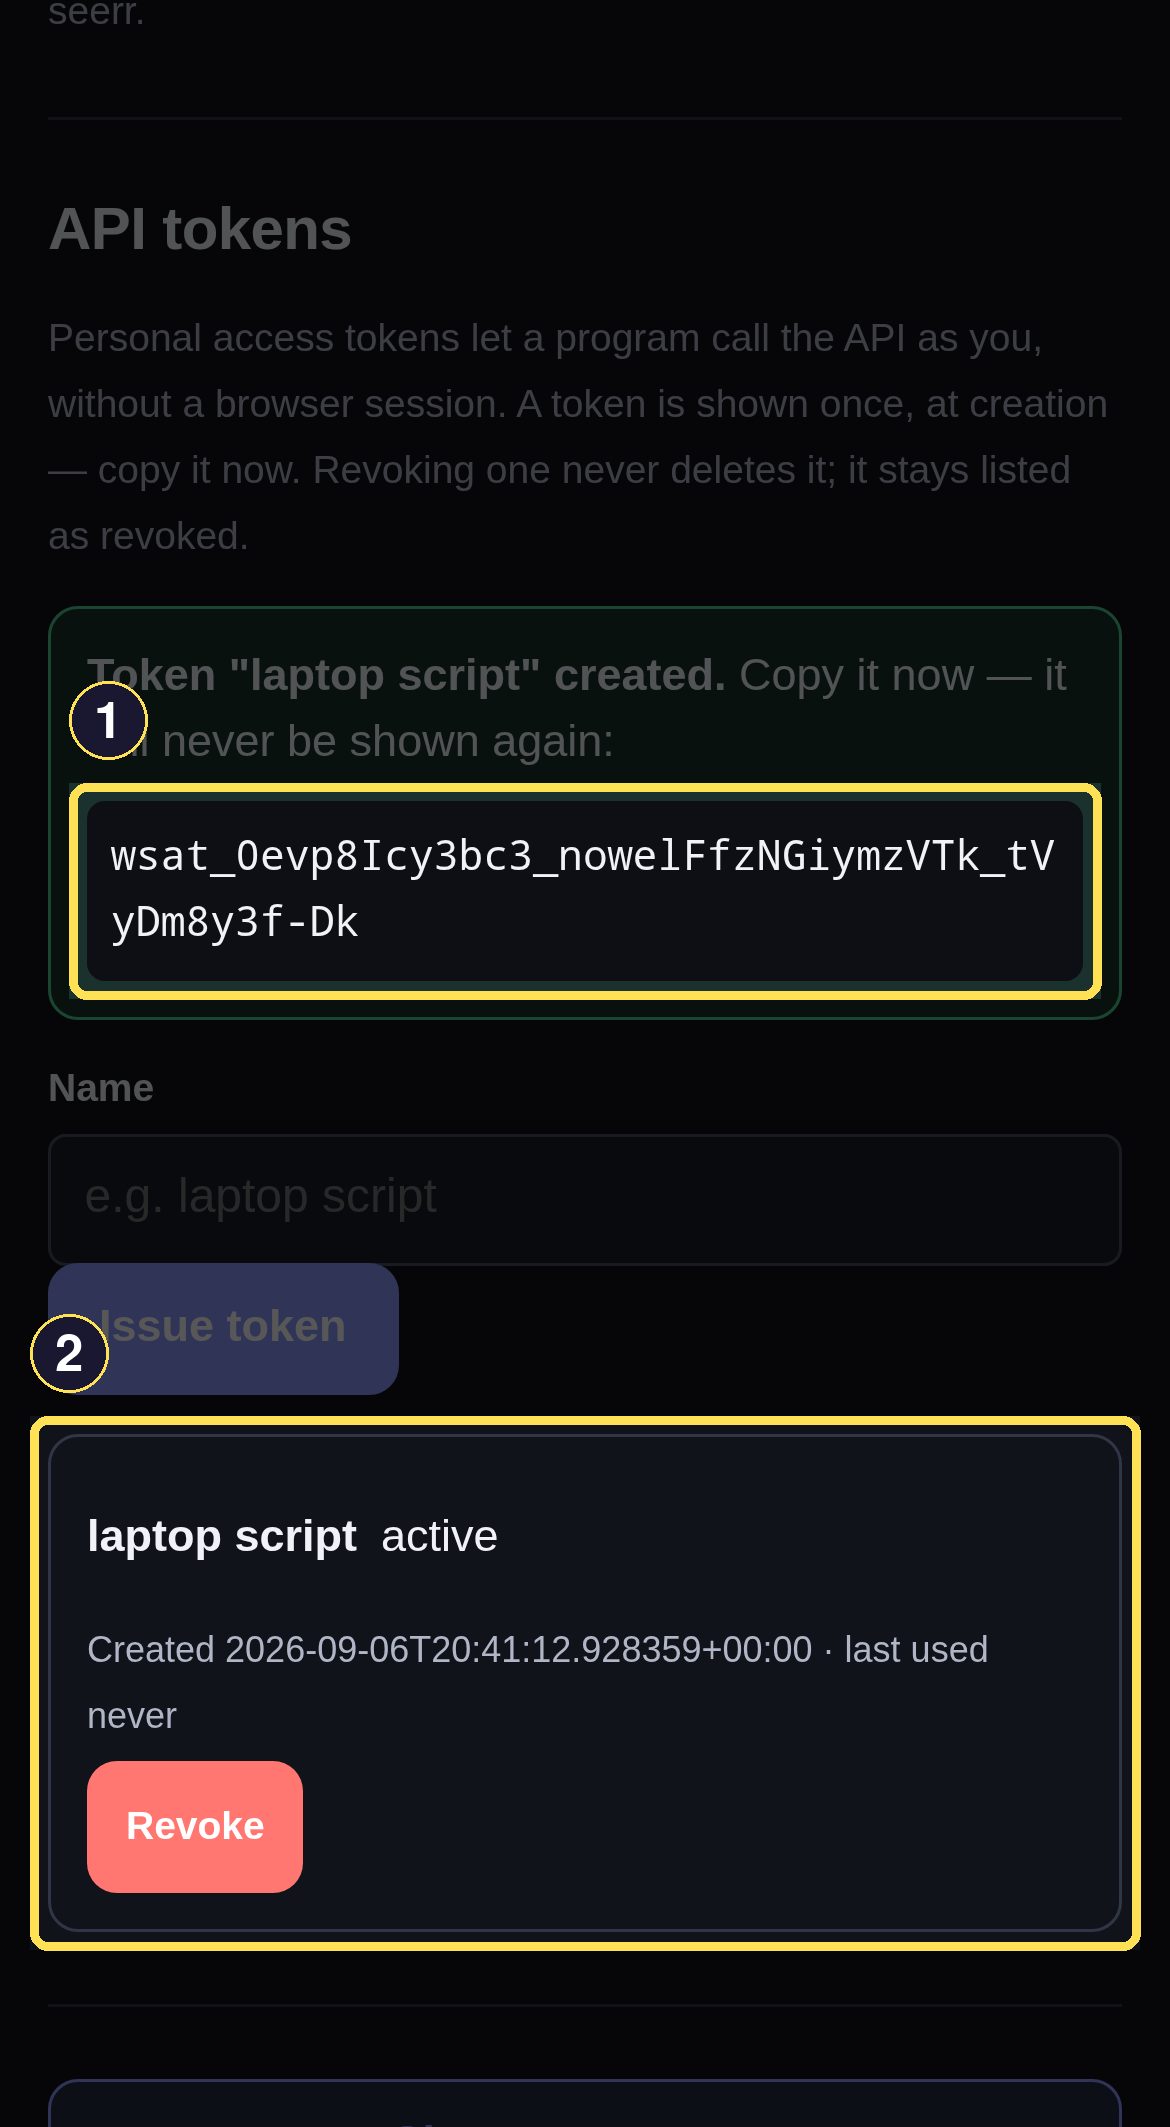
- A newly issued token's secret is shown exactly once, right here — copy it now.
- Each issued token then lists its name and an active or revoked chip.
- On your Profile page, under API tokens, name the token — something that reminds you what
will use it, like
laptop script— and choose Issue token. - Copy the secret shown immediately. It's shown this one time only; the page never displays it again.
- Choose Revoke beside an active token to disable it. Revoking never deletes the row — it stays listed with a revoked chip instead of active.